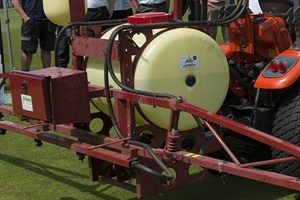
Any turf spray treatment, for nutrition, disease control or growth regulation, is only ever as good as the accuracy with which it is applied. Sprayer set up is the first stage in hitting the intended target and achieving desired consistent coverage. 
Visitors to this year's PitchFocus event, held at the Headingley Stadium in Leeds, were given a first-hand demonstration in sprayer set-up and checks to help achieve consistent and accurate application. Syngenta Application Specialist, Tom Robinson (right), explains what to look for and what steps to take before the sprayer gets out on the pitch or golf course. Firstly, undertake a good visual check all round the sprayer. Make sure nothing has been bent or broken whilst it has been stored in the shed; it is certainly not unheard of for nozzle units to have been bent or broken off. If then machine is dirty or dusty, give it a wash off prior to checking its condition. Washing should ideally be in a designated filling area and any run off collected for safe disposal, in case there were any spray residues on the outside of the tank. Otherwise, wash on a safe area of ground where washings will not run into a water course or drainage ditch.
Having established the sprayer looks in good condition, park on a flat surface and open out the booms.
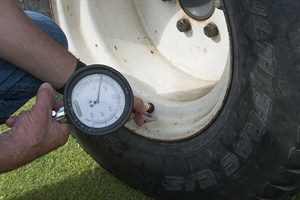
Make these checks with the tractor running and the hydraulic system powered-up, otherwise when it is switched off the sprayer tends to sink and would give an incorrect measurement compared to when working. Now we need to look at the operation of the sprayer. Fill the tank at least half full with clean water and, in the designated sprayer-testing or cleaning area, switch on the nozzles and high pressure test to at least five bar output. Visually check all the hoses and joints for any signs of leaks.
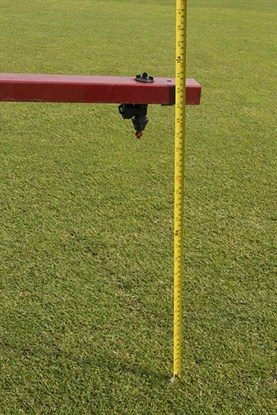
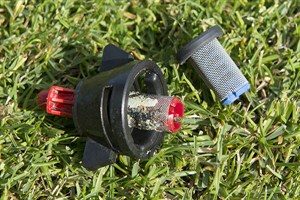
Turning our attention to the nozzles, with the sprayer switched on check that the pattern from each nozzle looks even and consistent. Small particles of grit can give a streaky effect to the pattern. Flat fan nozzles are notoriously susceptible to these partial or full blockages, where the shape of the orifice gives narrow pinch points that can collect debris. The Syngenta XC Nozzle, however, has been designed with a more open orifice that means that any blockages are extremely rare, especially with the 04 or 08 sizes.
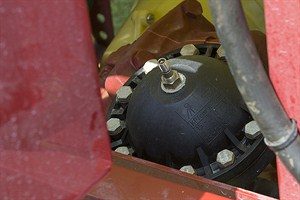
Then, we need to do a test to check for nozzle wear, which I advocate is a good routine every two to three months, or if you suspect there has been any change in the area you normally expect to cover from a fill. I am often asked how long a set of nozzles should last, but it is entirely dependent on how much spraying is done, and more to the point what has been applied. Syngenta fungicides or Primo Maxx, for example, are formulated with fine particles for fast turf uptake and so create very limited nozzle wear, whereas a generic coarse soluble iron could cause far greater abrasion and rapid wear. Once the shape of the orifice has been distorted, any wear can be exacerbated and can rapidly deteriorate. New Syngenta XC Nozzles are precision manufactured from modern hard wearing polymers to optimise their working life. To do the test, set the sprayer to working pressure, and then use a measuring cylinder to collect the output from an individual nozzle for exactly 30-seconds. Note down the volume and repeat for each nozzle. Calculate the average output per nozzle, and then look to see if any individual nozzle was more than 5% different to the average. If it was, then the nozzles would be unacceptably worn and the whole set must be replaced. This pre-spraying routine should typically take no more than 15 minutes, or possibly 30 if doing the nozzle wear test too. Given the value of the products usually being applied, and more importantly the opportunity to optimise their performance and results in enhancing turf quality and consistency, it is a simple step to improve the accuracy of every application.
| |||||||||||||||||||||||||||||||